Change Project Settings: Difference between revisions
Jump to navigation
Jump to search
No edit summary |
|||
| Line 37: | Line 37: | ||
* Upload a new image or choose select available image | * Upload a new image or choose select available image | ||
* When choosing upload a new image, select the desired image in the explorer and press the open button. | * When choosing upload a new image, select the desired image in the explorer and press the open button. | ||
* When choosing select available image, all photos already uploaded in the project are displayed. Select the desired photo and press the Confirm button | * When choosing select available image, all photos already uploaded in the project are displayed. Select the desired photo and press the Confirm button [[File:Thumbnail_2.png|259x259px]] | ||
[[File:Thumbnail_2.png|259x259px]] | |||
=== Project Logo === | === Project Logo === | ||
Revision as of 07:39, 29 January 2024

Project Settings
Where are the project settings displayed?
Parts of the project settings such as project name, project leader, status etc. are displayed in the project overview.

Where to change the project settings?
- Within the project detail view click on the "..." button in the top right corner
- Enter the Project Settings

How to change the Project Settings?
- Enter the respective data in the corresponding field
- Click the Save button
Latitude / Longitude
- Enter WGS84 coordinates of your project. (This data is required for future features)
To find the coordinates, you can use Google Maps, for example.
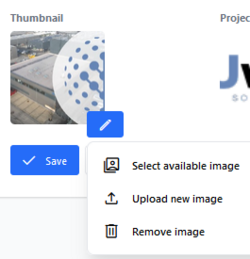
Thumbnail
What is a Thumbnail?
The thumbnail is displayed in the project overview next to the project name. A thumbnail makes it easier to find the right project.
Thumbnail Format?
Compatible with jpeg and png files Ideally 1:1 format otherwise the images will be cropped
How to add a Thumbnail?
- Click on the pencil next to the thumbnail logo
- Upload a new image or choose select available image
- When choosing upload a new image, select the desired image in the explorer and press the open button.
- When choosing select available image, all photos already uploaded in the project are displayed. Select the desired photo and press the Confirm button

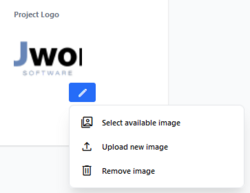
Project Logo
What is a Project Logo?
The project logo is displayed at the bottom right of the viewer. Ideal for placing your company logo or the logo of your partner.
Thumbnail Format?
Compatible with jpeg and png files Ideally 1:1 format otherwise the logo could be cropped
How to add a Project Logo?
- Click on the pencil next to the Project logo
- Upload a new image or choose select available image.
- When choosing upload a new image, select the desired image in the explorer and press the open button.
- When choosing select available image, all photos already uploaded in the project are displayed. Select the desired photo and press the Confirm button